+- +-

+-User

Welcome, Guest.
Please login or register.


Forgot your password?

+-Stats ezBlock

Members
Total Members: 3488
Latest: mayndropBurb
New This Month: 0
New This Week: 0
New Today: 0
Stats
Total Posts: 548
Total Topics: 162
Most Online Today: 233
Most Online Ever: 767
(January 23, 2026, 04:23:56 AM)
Users Online
Members: 0
Guests: 138
Total: 138

Author Topic: Seat Bracket Build (will clean up soon)  (Read 6509 times)

cuttyman9

  • Administrator
  • Celica Engineer
  • *****
  • Posts: 312
  • Rep: +1/-0
Seat Bracket Build (will clean up soon)
« on: January 07, 2015, 12:29:25 AM »
Seat bracket build

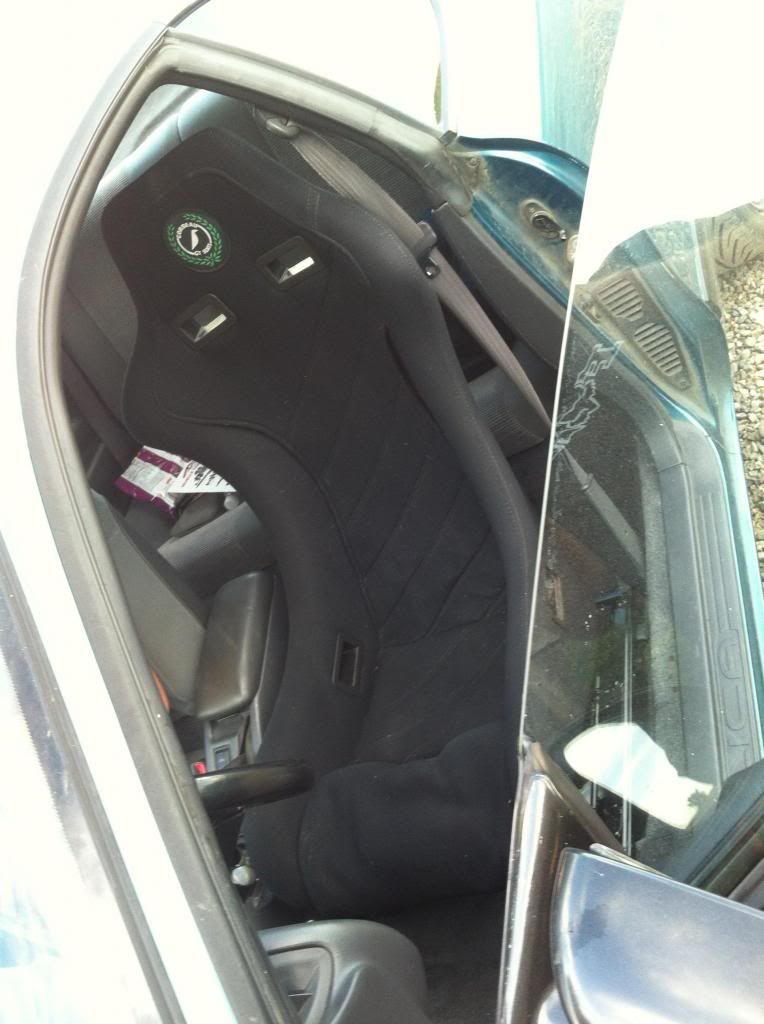
So I landed a pair of cheap Corbeau's and figured why not slap one in.

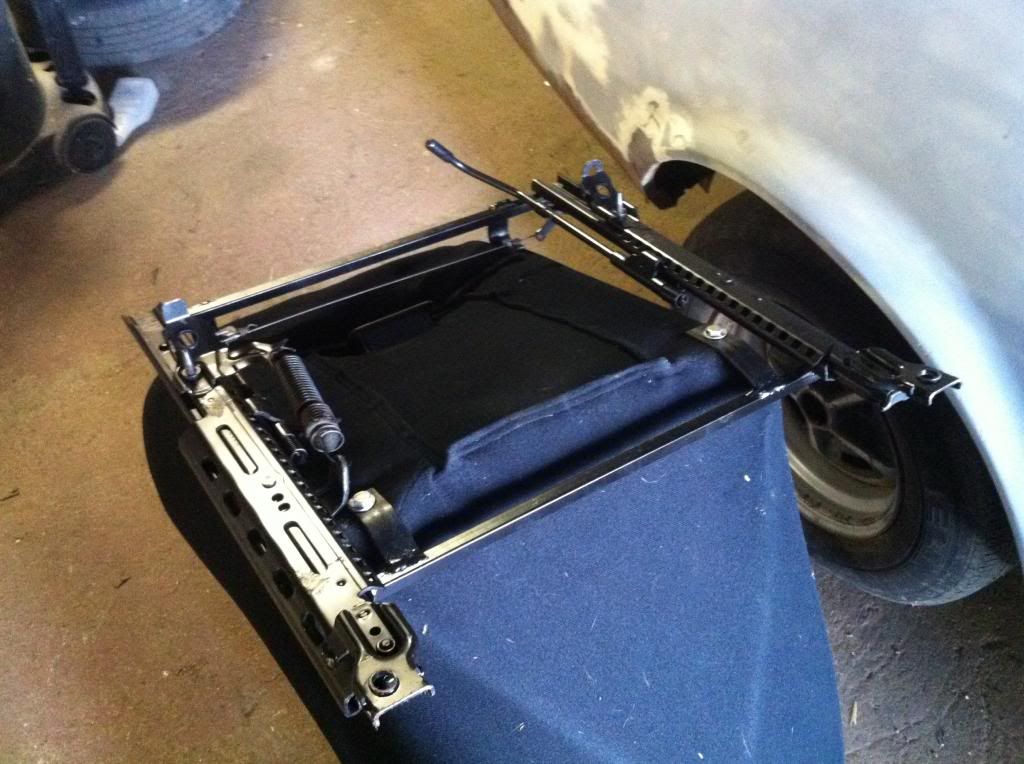
I bought a factory seat bracket for the driver side for about 15 bucks which is nice because it allows me to use the factory bolt down locations very easily and also make use of the sliding function.

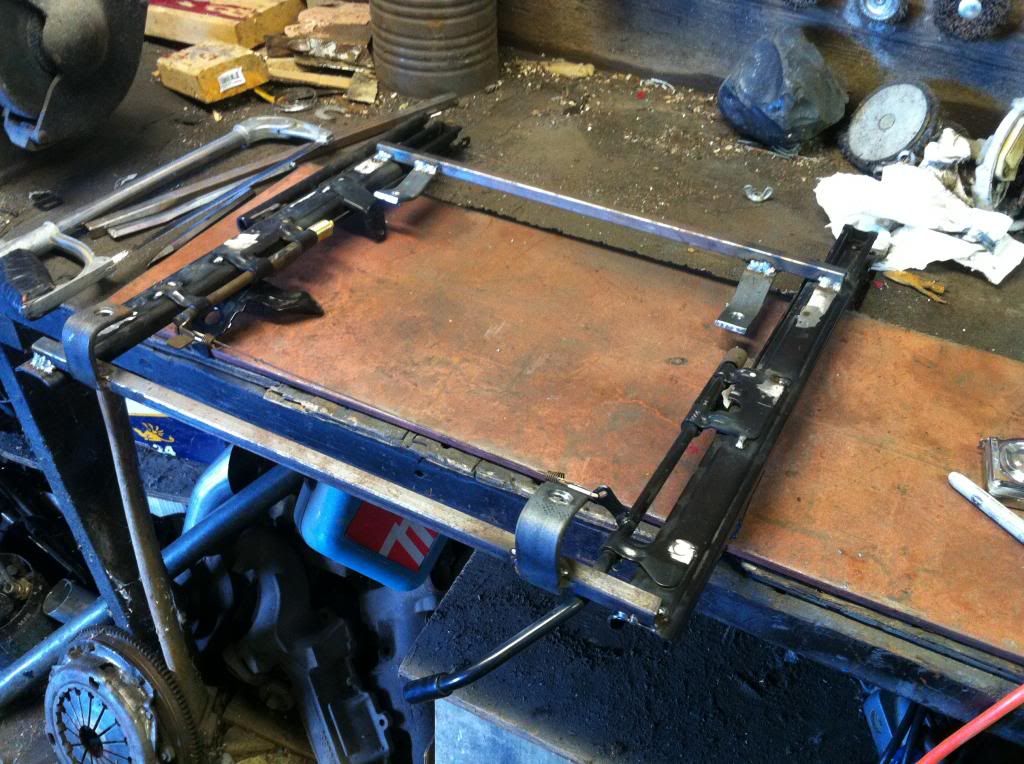
I initially braced the base up so that it would be right when I went to put it in the car with some half inch square tubing.

I then proceeded to cut the factory upper support off with everything else so that the rails would be flat.

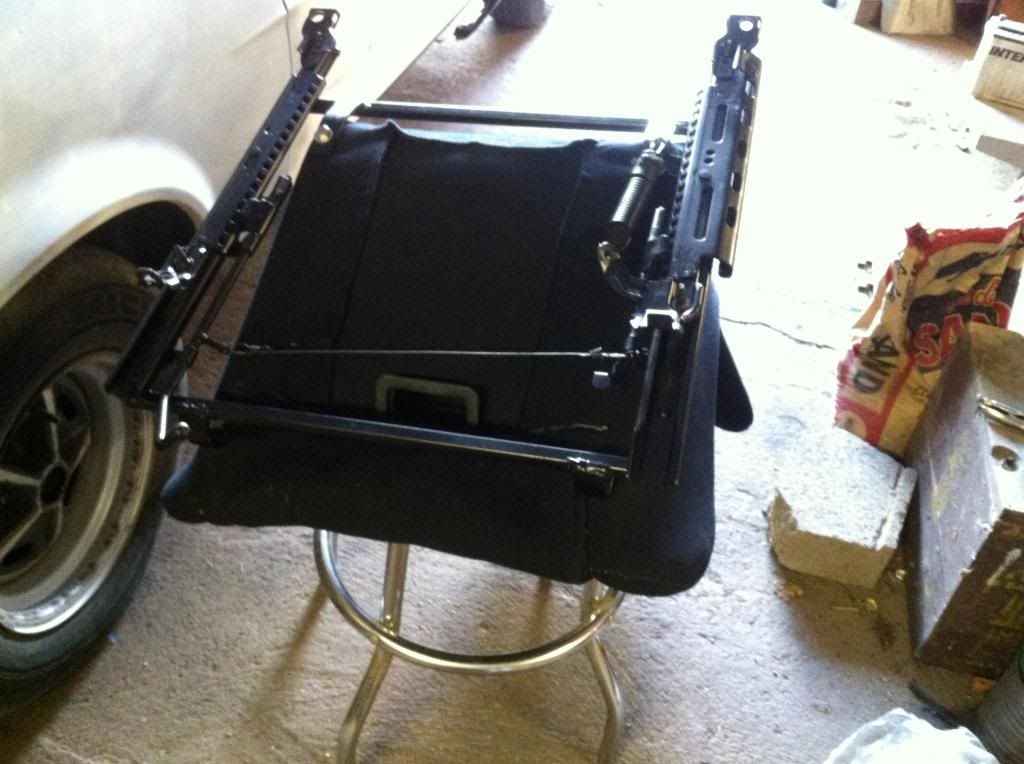
Once the rails were flat I began to figure out where I wanted the seat to sit, which was lower in the butt area and higher in the front part which would give me a slight lean backwards but not enough that I'd drivin' like some thug gangster person.

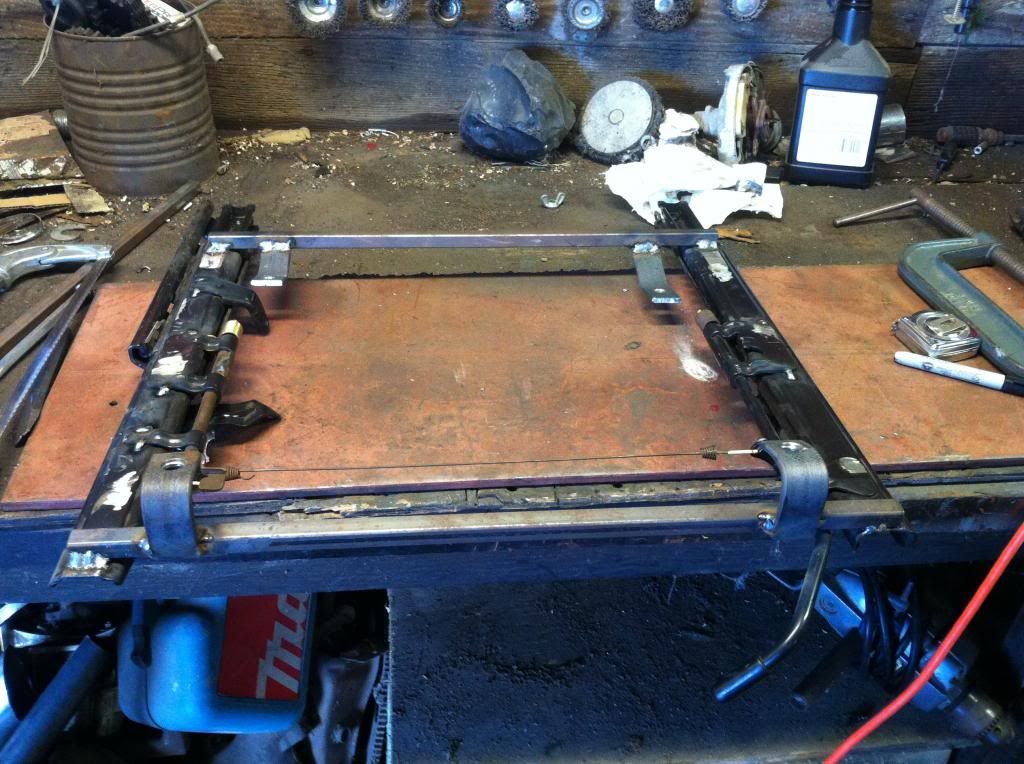
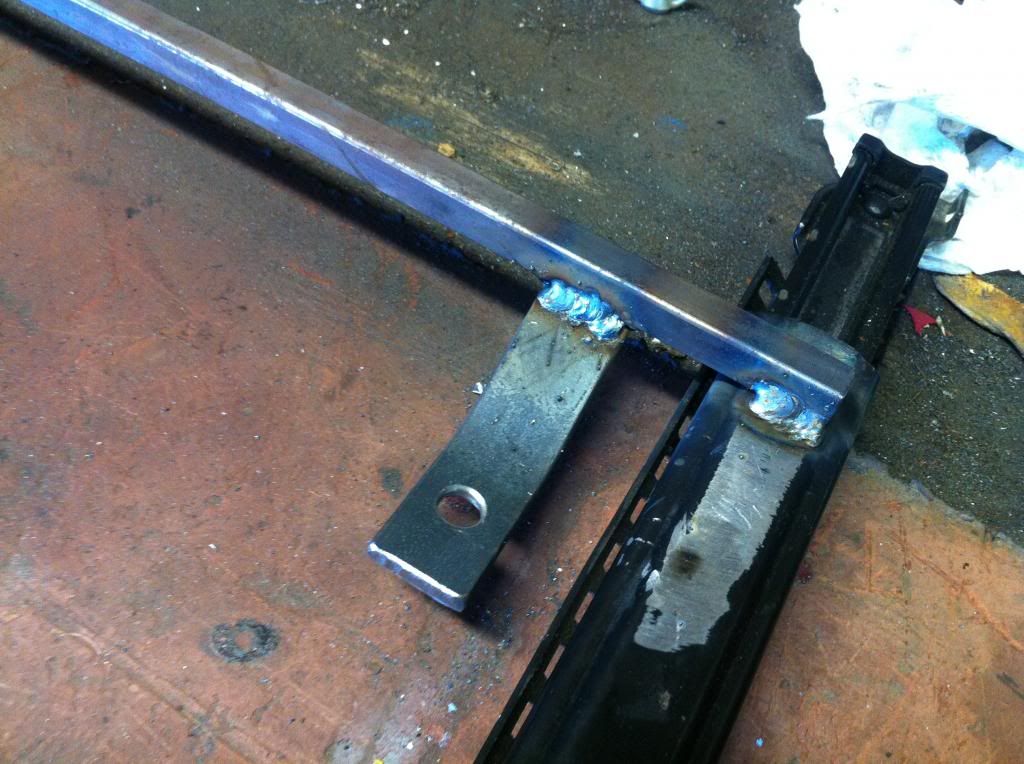
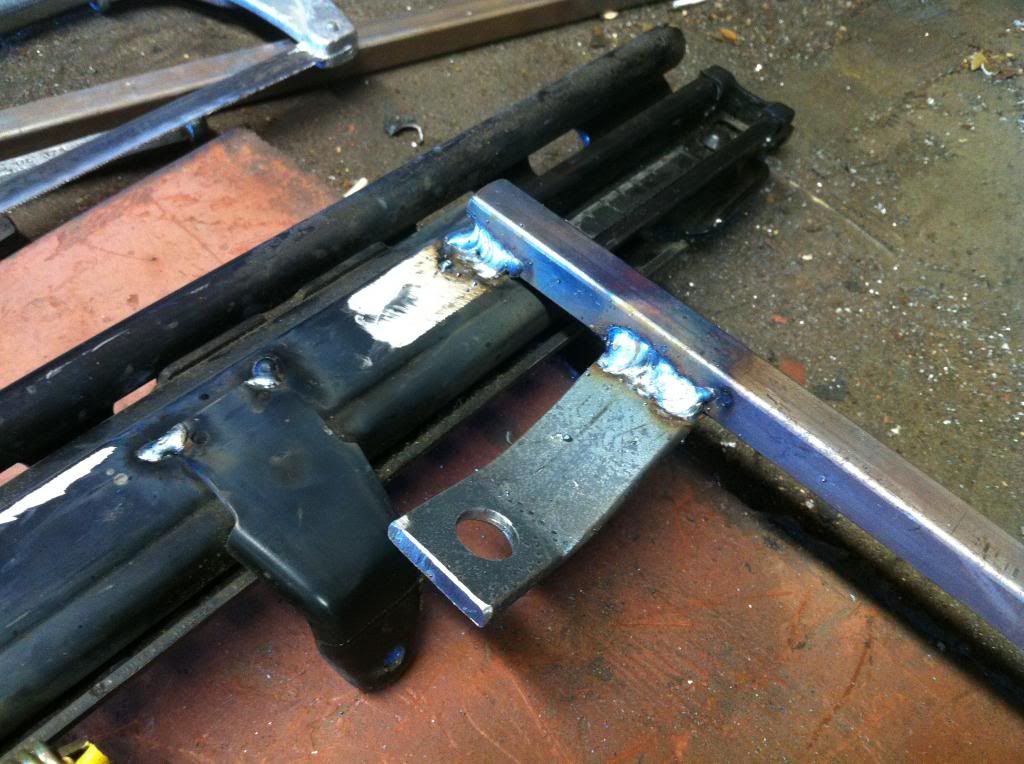
Once I got the cross braces on where I wanted them to clear the seat I started building them out of flat 1/8th inch by 1 inch steel stock which i bent to a little over a 90 degree angle up front and at like a 30 degree angle in the rear as seen in the pics.

After getting all the holes drilled for the bolts and mocking up the layout of the seat on the frame I welded all the spots heavily cuz it was going to have my weight over it every day. I removed the initial bracing at this stage because the cross braces were in place.

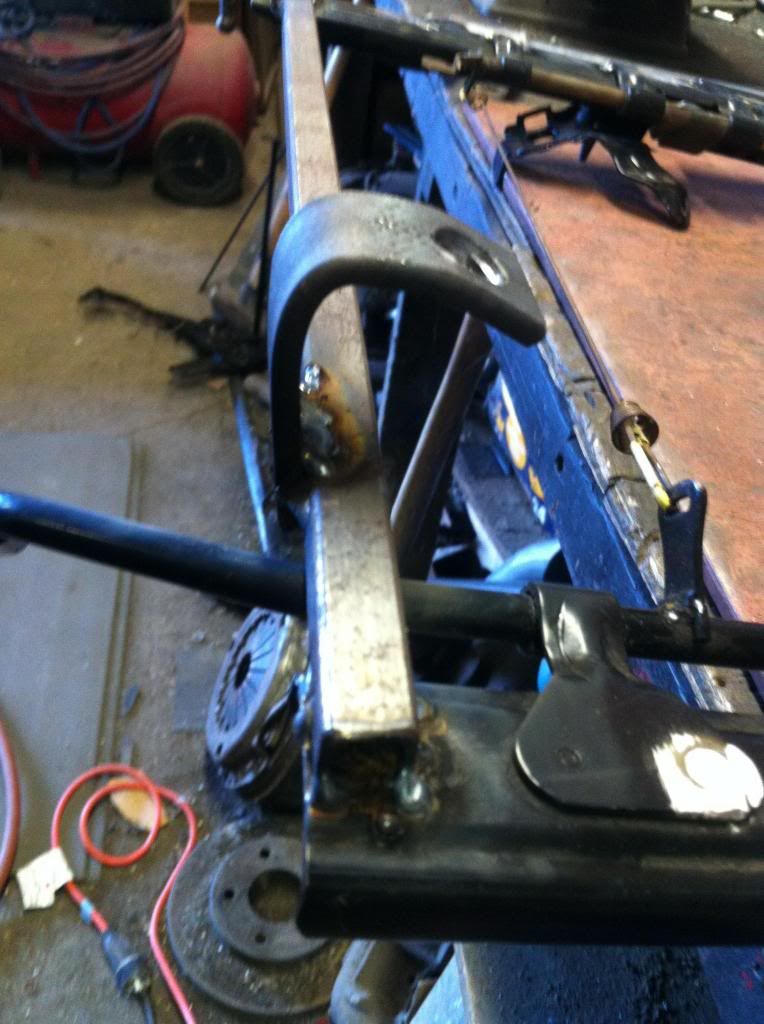
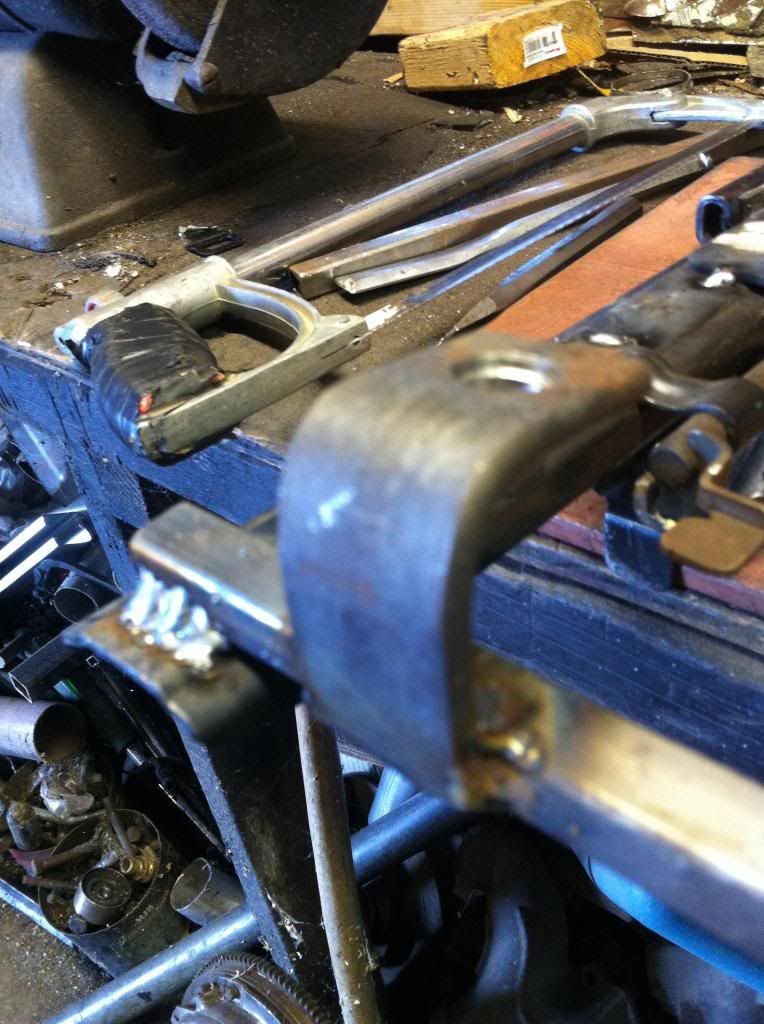
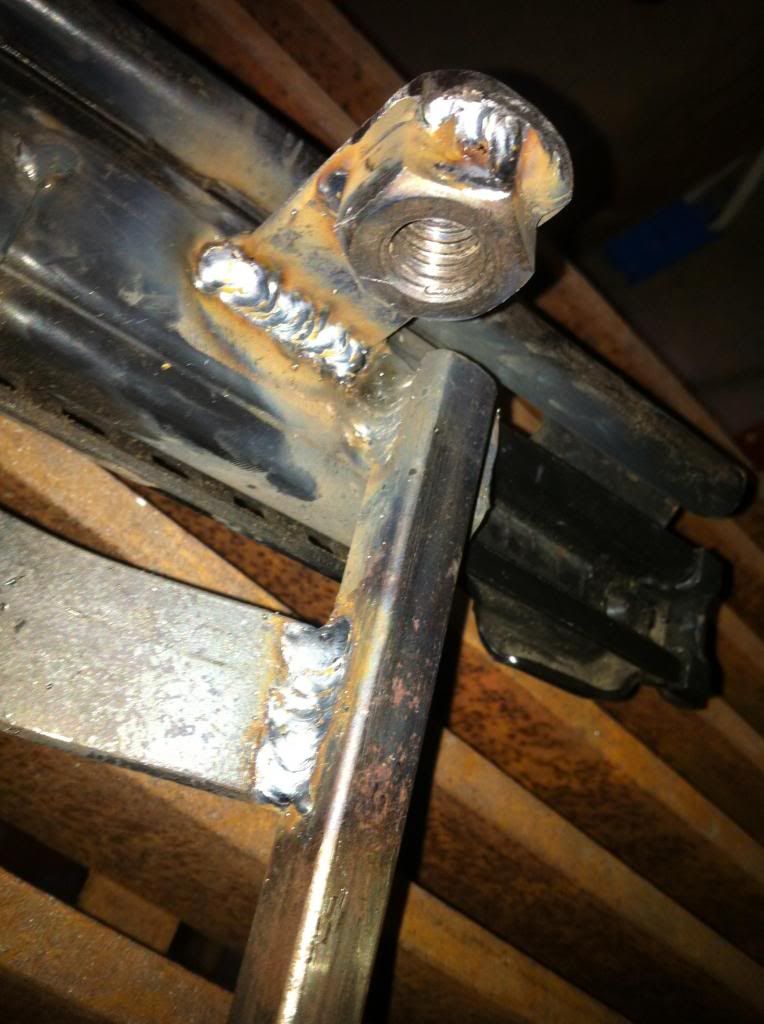
For the seat belt I used the stock shoulder belt and the factory latch which I attached with a bolt, a lock washer and a nut welded to some more 1/8th by 1 inch flat stock.

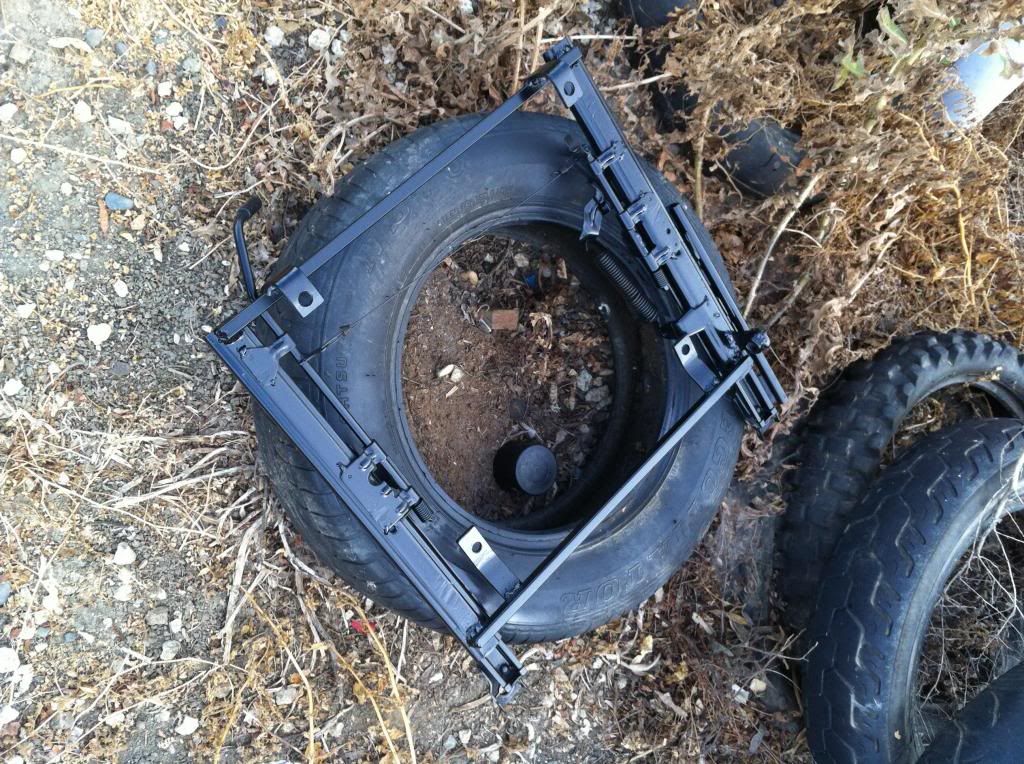
Pretty much all that's needed once this is done is to paint it and install it.


Founder of "Official 5th Gen Celica" on Facebook
92 Celica GT 2gr
99 F150
71 Cutlass
75 Trans Am
67 Chevelle dmax
66 Chevy k20
36 Chevy Master Coupe
71 Triumph Stag
91 300zx TT
92 Subaru SVX
92 Stealth RT/TT
88 Corolla GT-S
92 Typhoon
53 dodge pickup
66 polara wagon
66 mustang GT


+-Recent Topics

IS300 front BBK by Unit2berto
January 21, 2026, 05:38:39 PM

NEW Celica BBK - 6 piston goodness! by cuttyman9
December 08, 2025, 02:20:20 PM

5x114.3 Swap by Geeep
August 26, 2025, 10:06:30 PM

TL Type S rear BBK by cuttyman9
August 26, 2025, 02:18:18 PM

Sc300/sc400/supra mk4 front bbk writeup by cuttyman9
August 16, 2025, 02:13:27 AM

Long awaited GS300 BBK by cuttyman9
August 16, 2025, 02:12:24 AM

IS300/GS300 Rear BBK by cuttyman9
August 16, 2025, 02:09:54 AM

Is300/gs300 dual rear caliper setup (drifting/hydro/etc) by cuttyman9
July 12, 2025, 10:03:14 AM

Bolt in 2grfe swap into a 5th gen celica. by cuttyman9
July 10, 2025, 11:11:02 AM

Production Svx Manual swap pedal box Writeup by cuttyman9
July 03, 2025, 11:52:30 AM

Powered by EzPortal